I made another hat. I'm not sure why I like hats so much... maybe because I have ultra-short hair, so they're easy for me to wear.
This time it was for the concert of a Finnish folk metal band called Korpiklaani, aka Wilderness Clan. They're something to experience, really. They have this whole drunken naturalism thing going on that I just love. So, of course, I wanted a hat with horns on it. Yes, in fact, I have made hats with horns on them before... but this time the hat was going to be worn to a notorious local concert hall, one with metal detectors and eager security guards. So I had to make it plush.
First I had to figure out how to do the type of horns I wanted. I knew I could just sew a curved shape, but I wanted more dimension to the horns. Instinct told me that if I sewed the flat horn shape and then did a running stitch along the inner curve, I could gather the thread to not only make the curve more pronounced, but to distort the shape a little so that the horn curled forward.
A quick test in felt proved the concept.
 |
| Exactly! |
I had just that day been given a bag full of nice-quality felt (thanks, Jim!) so I sketched out a flat horn shape for a matched pair.
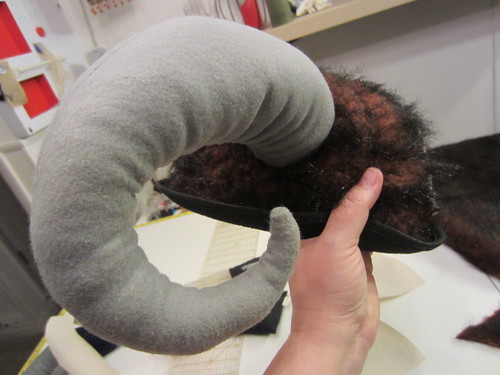
Trace and cut, sew flat, turn and stuff. Honestly, this was the easiest part. Then I got comfortable on the sofa and ran a long straight stitch on the inside curve — short stitch on the outside, longer stitch on the inside — and gathered them nice and tight and matchy.
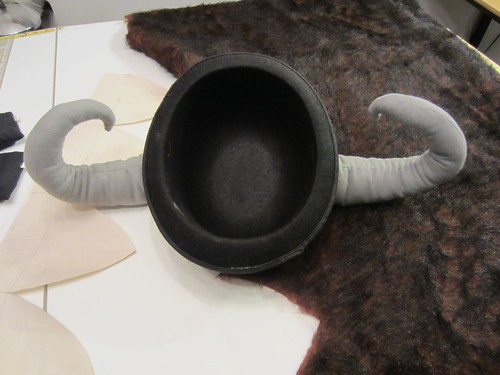
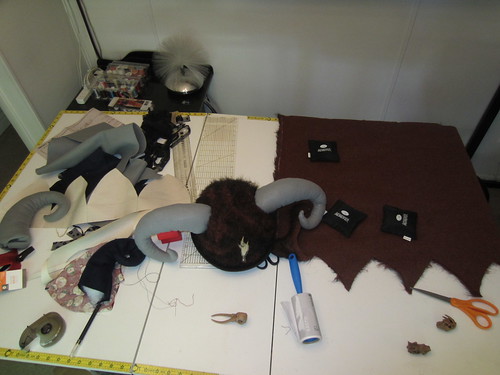
Initially, I was just going to sew the horns directly to this cheapy bowler I got at Target for around $6. But it needed more. And I have this big bucket of faux fur in my fabric closet...
I know essentially what a hat looks like when it's flat — all pointy curves, not at all what you'd expect. But since I was starting with a physical hat, I needed to figure out how to make the measurements specifically to this object.
I took some of the craft paper I have lying around and wrapped it around the hat, squishing and taping where appropriate. Then I sketched in some curves and made some measurements. Have I mentioned how excellent Adobe Illustrator is for figuring out geometry? It's spectacular. Even when I'm not using it to create and print a pattern, it's a great tool for just figuring out how measurements divide out etc.
This is what that winds up looking like.
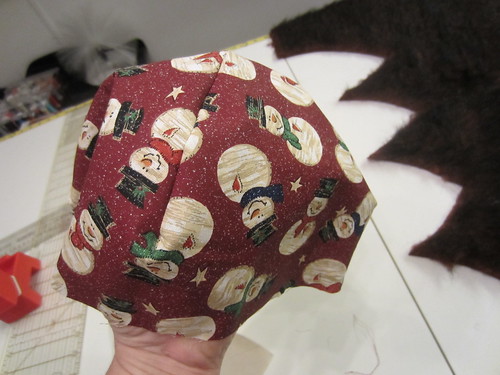
Before cutting into the "good fabric," I did a tester in a throw-away fabric; in this case, Christmas quilting fabric from a bucket-o-fabric I inherited from dognosewhere. Stitched it up and slid it over the crown of the bowler to at least make sure it was a usable start.
For those of you who haven't worked with faux fur, let's just tackle this: You're going to make a mess. There are ways to mitigate said mess, but you ARE going to make a mess. Usually, what you want to do is trace your pattern onto the reverse of the faux fur and then cut the pieces out using a craft knife. This minimizes how many fibers you shear along the way. Sometimes you may want to grade the fur before you sew your seams as well. I didn't do this, which was fine, but after the seams were sewn, I did have to take a chopstick and pull the fur out of the seam allowance to blend the fur back together.
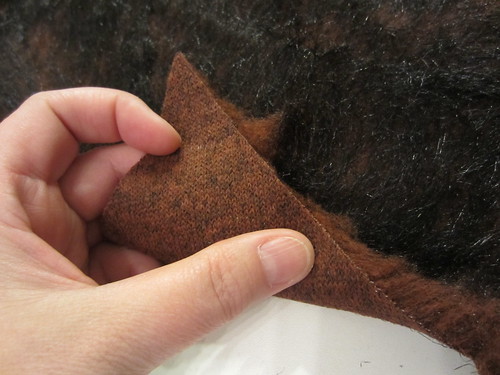
In this case, the backing on my faux fur was knit, so cutting with a craft knife was not going to work, because it would wind up stretching and getting all effed up. Instead, I traced the shape on the reverse, per usual, and then used a very small, very pointy, very sharp pair of scissors, and sort of parted the fibers while I was snipping. Then I carefully took the whole mass — both sides — outside and shook the living crap out of them. I really like this faux fur because of the simulated over- and under-coats, and because of that knit backing. It makes it more mouldable as there is a little stretch.
Cut and stitch, being careful to keep the fabric from getting jammed in the machine because the layers were so thick.
At this point, I slid the furry crown back on the hat, inside out, and adjusted and adjusted and adjusted. One of the advantages to doing this in the furry fur is that the lines do not have to look precise, the shape just needs to conform. I had to flatten out the seams at the very top so it was more bowler and less puff-ball-ski-hat, but eventually I got it.
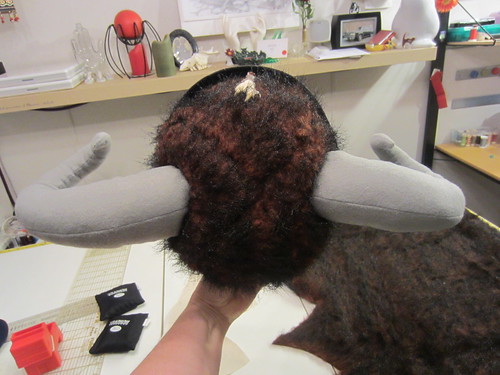
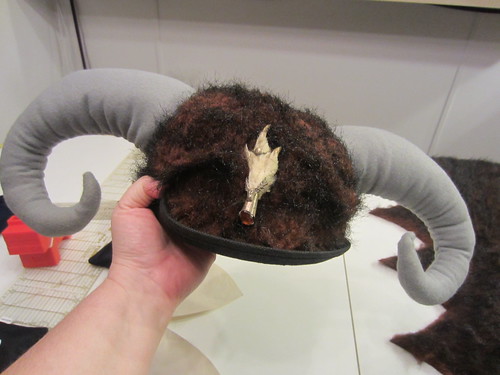
Once I was happy with the fit, I put the skin on the hat and put the hat on my head, then stood at the bathroom mirror positioning felt horns. That was fun. Once they seemed appropriately placed, I unskinned the hat, got comfortable on the sofa again, and hand-stitched the horns through the felt and fur. Then fluffed everything back up, put the behorned fur back on the bowler, got it all centered, and then hand-stitched the (raw) bottom edge of the fur tightly against the angle where the bowler crown met the brim.
Then I danced around the house in it for about 10 minutes. As one does.
I wanted something as a crest on the front, and remembered an old Scottish grouse foot pin I have, which seemed perfect. The finished hat is quite lightweight, and not as warm as I was afraid it might be.
When I got to the ticket window to check in, the guy looked up at me and said, "Have you come to take me to Valhalla?" I laughed and told him we'd talk after the show.
In case you're wondering what the thing looks like on a human, here's the closest I've got; my friend Paul who was at the show with me.
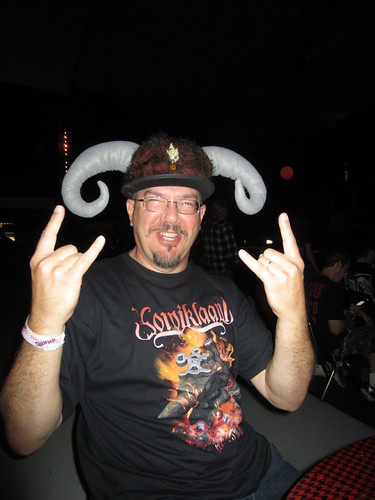 |
| Our lovely model, Paul. |

 I do enjoy working with unusual, and sometimes difficult, materials. (See Fur Hat, Vinyl Corset.) It's part of the reason I learned to sew to begin with.