

Tuesday, May 01, 2012


Friday, March 16, 2012
Nessie Tie
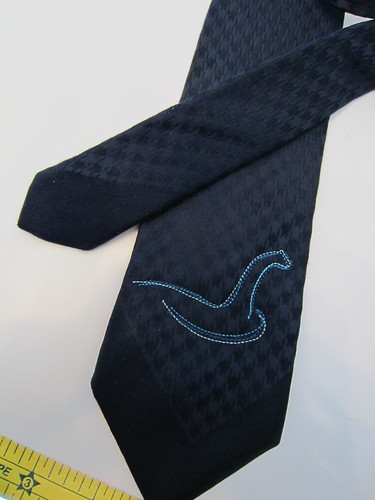 It hasn't really been this long since I've made anything, but a few of the things I've been working on have been gifts, so I didn't want to post any photos until the items had gone to their new homes.
One such project is the tie at the left, the Nessie tie.
I wanted to customize a cryptid tie for a friend who happens to be an expert on such things (monsters, not ties). I knew it would have to be a simple and immediately-recognizable design to fit the space available, which would be less than 2" wide at max. I first considered the Big Three: Bigfoot, the Loch Ness Monster, and el Chupacabra. (I could certainly have gone more obscure – I also had a look at Champ and Ogopogo.)
 I decided the most appropriate – and iconic – image would be the 1934 "Surgeon's Photograph."
Starting there, I did a quick trace of the basic shape in Adobe Illustrator. My first thought was to do a wet-brush style in two colors. With a little bit of fidgeting around, I arrived at a design I quite liked.
 As lovely as this effect is, it simply wouldn't translate well to machine stitching, not at that small size. I tried. It was a mess. So I reconsidered the style to something lighter. Some of the most successful designs I've stitched out on ties are sketchy/scribbly. That style works well at small sizes, and doesn't torture a tie's surface (which tend to be a bit puffy).
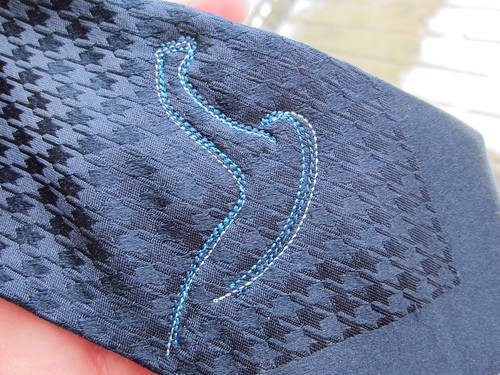
And so, I reconfigured the shape to three basic lines, as though it had been traced out on a slip of paper. The tie I had selected is a nice navy houndstooth, so it seemed keeping in blues was appropriate for a whole host of reasons. With the addition of a little wake to contextualize her, Nessie was ready for stitch-out.
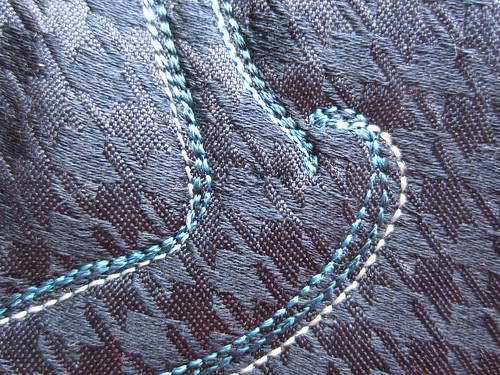
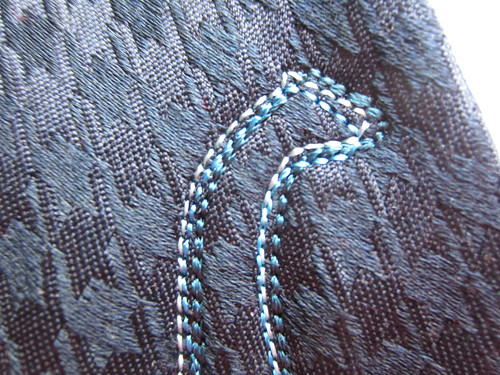
This is the nerve-wracking part. Often, when doing a custom piece of embroidery, I'm starting with a flat piece of fabric, which will later be integrated into the finished project. But when I have to start with the item and stitch directly on to it, it always makes me nervous. Ties are a PITA, because of the amount of engineering that goes into them, but the stiffness/smoothness of their surfaces tends to take stitching beautifully. After a couple of tests of the converted pattern, I hooped up the tie and let Rudy do his thing.
In addition to the positions being altered, the weight and spacing of the lines are varied. This gives the design an even more organic, sketchy impression.
The stitching took very nicely, and the tie was well-received. Hopefully I'll soon get a follow-up photo of the Nessie tie in her natural habitat.
Saturday, November 12, 2011
iPad Carry Bag
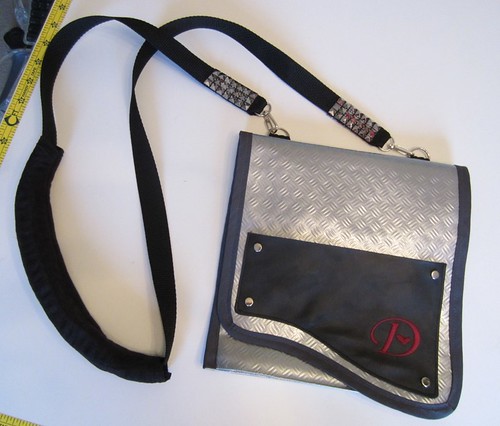
Before CSICon last month, I decided to make a bag sized just for my iPad, iPhone, new camera, and one or two other essentials. Something with an extra-long strap so I could wear it cross-body and low on my hip.
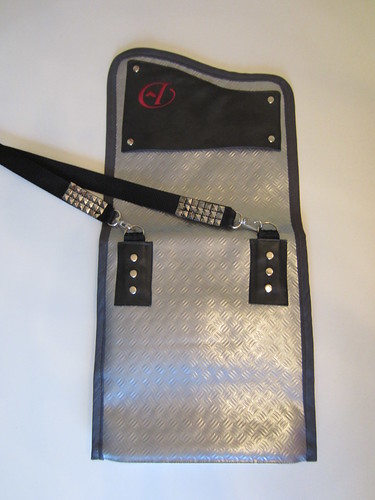
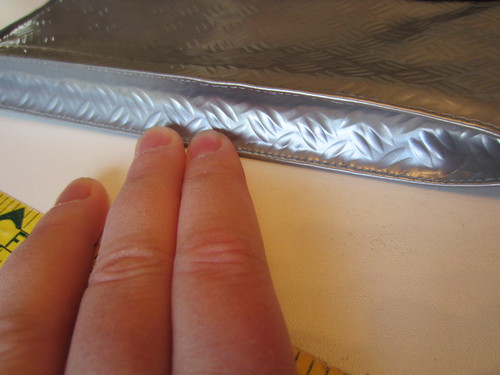
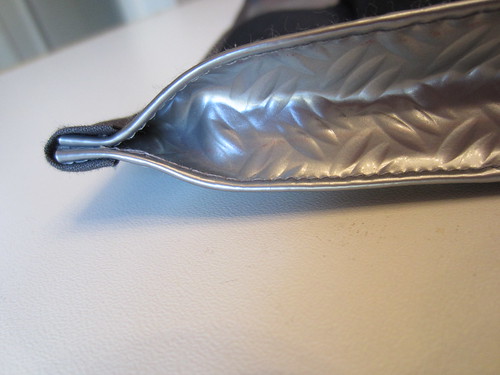
I had a big chunk of this very cool, but very stiff, diamond-plate embossed vinyl. I'd been trying to figure out something to do with it for a couple of years. Originally, I was hoping to make a corset with it -- how cool would that be! -- but it's just too stiff. It's a good weight for a light-duty bag, though.
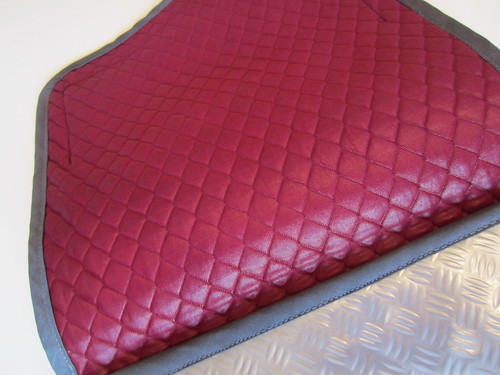
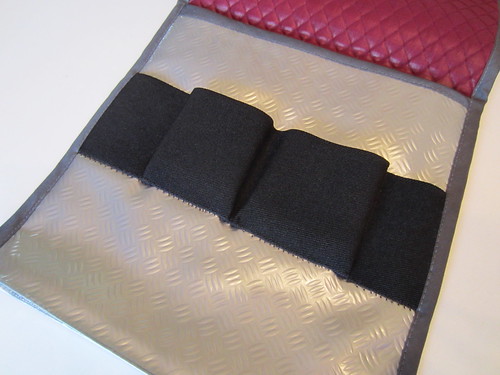
I also had a couple of yards of this quilted burgundy knit which I'd intended to use for a nice fall skirt, which hasn't yet happened. Well then it's fair game! I figured it would be satisfactorily padded, particularly since the iPad never comes out of its leather case.
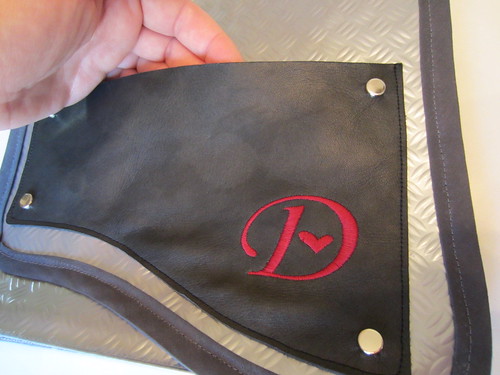
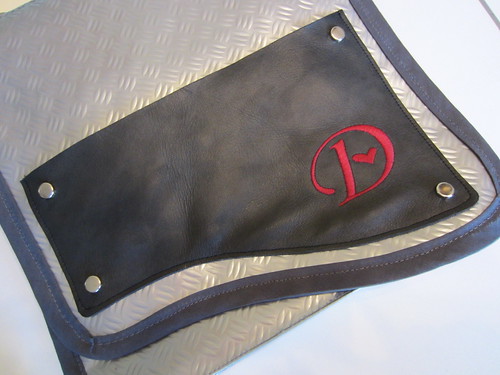
I decided the best design would be an envelope style with a bottom gusset to accommodate the iPad thickness. The leather patch on the front is embroidered with a nice juicy D and a heart, for me. :) I left the top of the patch open so I could slip some business cards etc. therein.
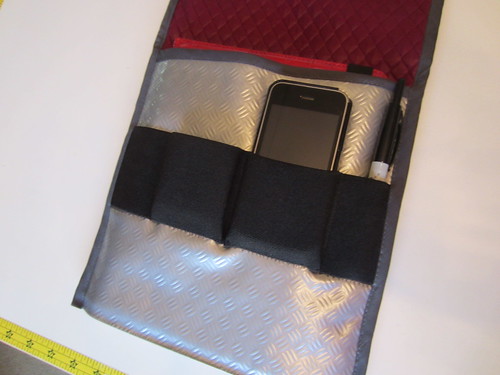
I also made a gusseted strip out of 2" elastic, made to measure for my iPhone and camera. (Camera not shown in place, for obvious reason.)
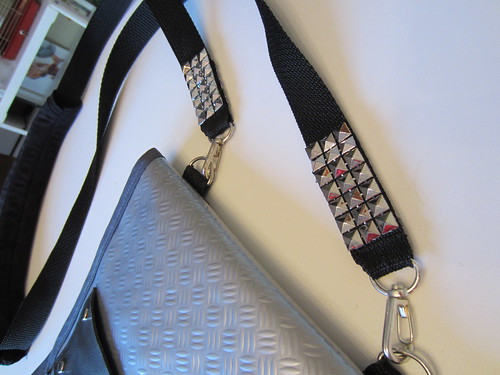
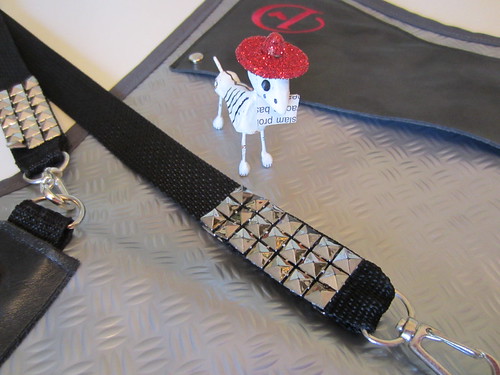
After careful measurements, the strap (plain 1" poly webbing, with diamond stud trim added) was sewn to the rear exterior, then the leather detail was added over top.
The interior and exterior were adhered together and then folded over at the bottom, then back up for the gusset. Then the outer edge was finished all the way around with purchased double-fold bias tape.
That's pretty much it! Simple design with a few added details. I carried it through the week, just right for my electro-accessories, and a couple extras.
Wednesday, November 02, 2011
CSICon/New Orleans 2011


CSICon/New Orleans 2011, a set on Flickr.
Just got home yesterday from close to a week in New Orleans, which included a big skeptics conference AND Halloween (and a costume party and a swamp tour...). It's like all the parts of my personality were fully engaged -- best vacation ever!
I spent the last few hours culling 600+ photos down to 200+ so y'all can get the highlights. If you're wondering, yes I did make my "costume" and yes I did do the facepaint myself. Even better than wearing a mask!
Monday, October 10, 2011
Wedding Fascinator
A friend of mine got married this weekend, which is always a good time to do some fancifyin'.
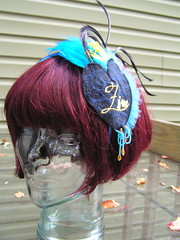
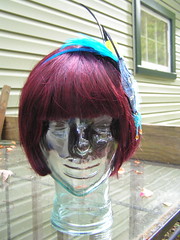
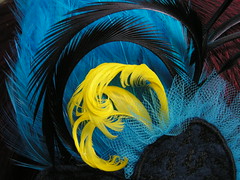
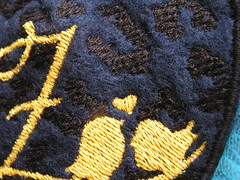
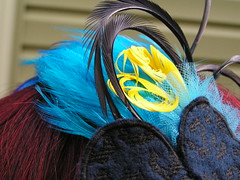
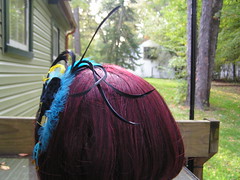
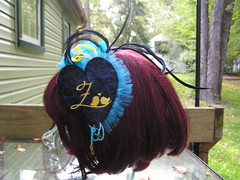
When I was getting ready to leave, I joked, "Well I guess I can just go home and throw this away now... Not like I'm gonna wear it again!" A couple of the women at my table were aghast. "No! You should give it to her!" Oh yes of course I'm going to give it to her!
Subscribe to:
Posts (Atom)

